
The most expensive mistake in a plastic product is not a bad mould. It is a good mould built for a bad part design. Once steel is cut, every change means welding, re-machining and re-polishing, and the delay usually costs more than the rework.
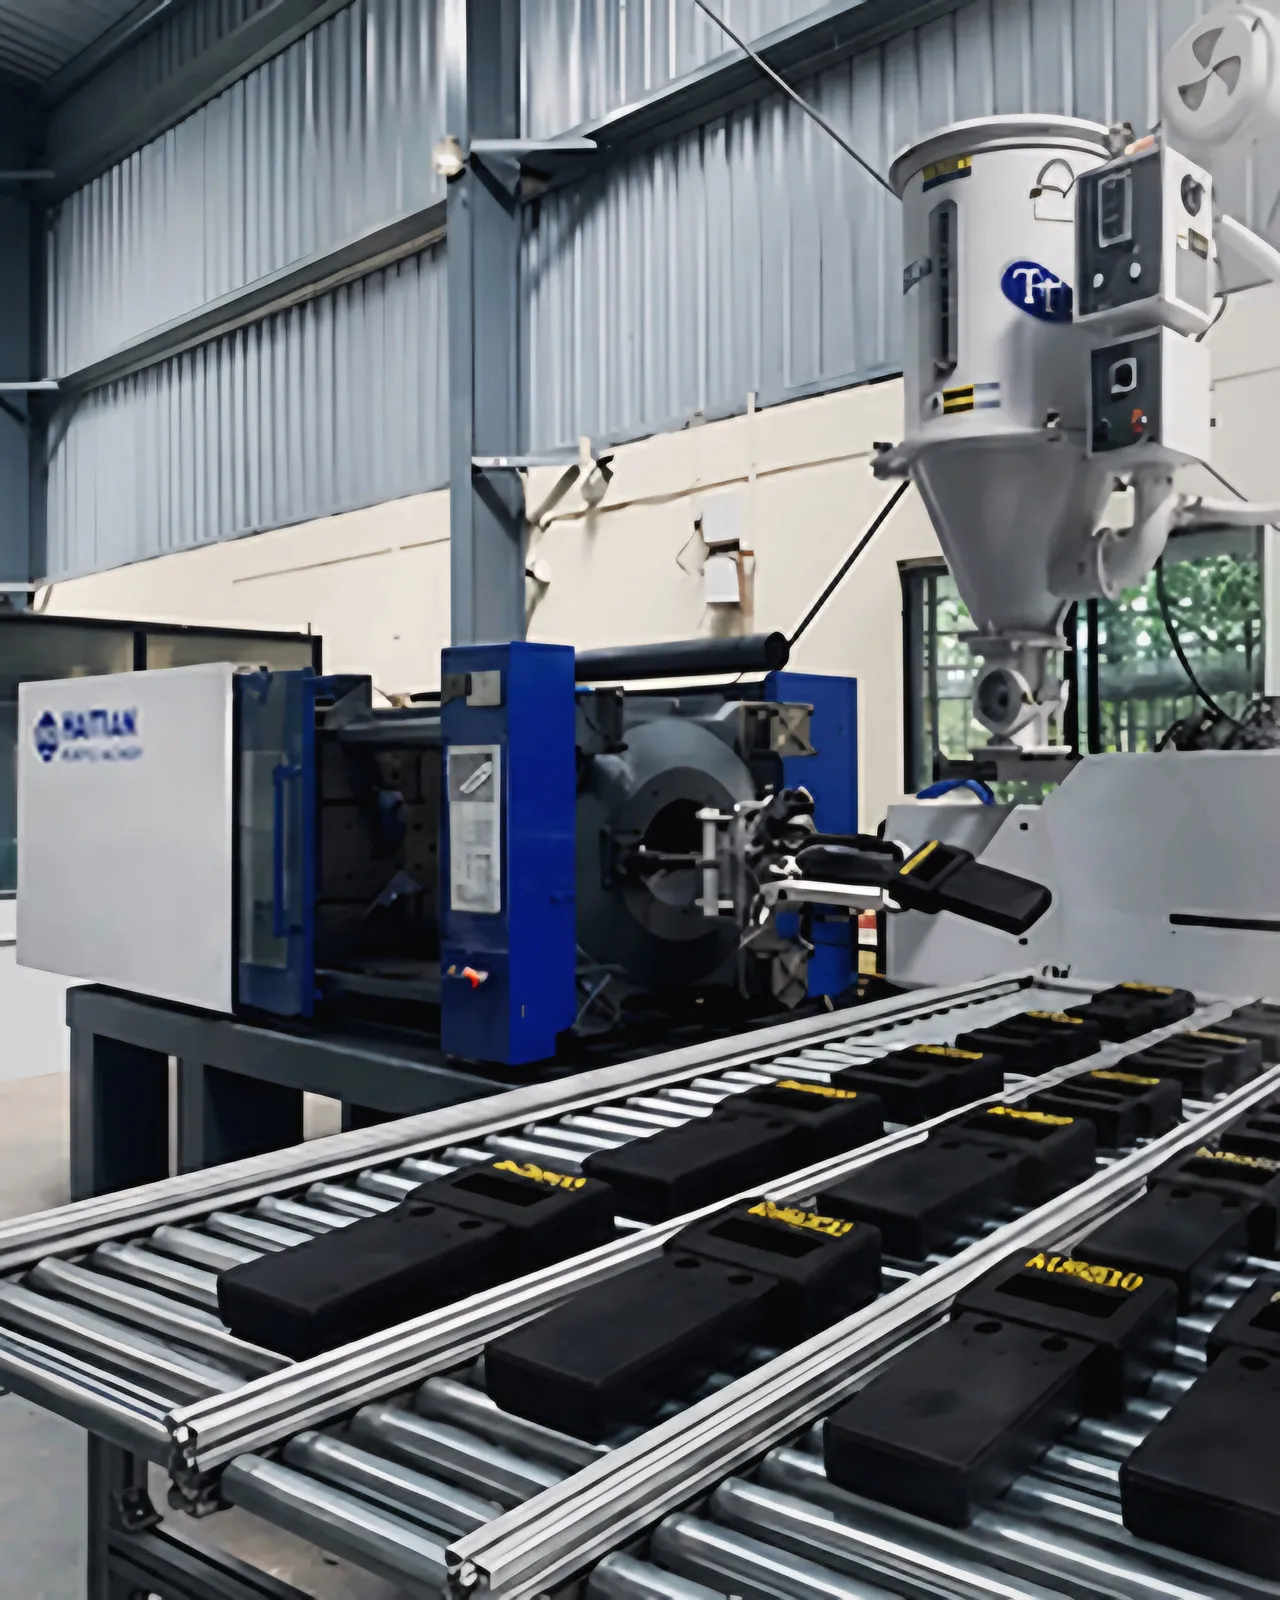
Most of these problems can be caught on CAD in an hour. This guide is the checklist we use when we review a part before tooling on our 250-tonne press in Sangli. You can run it yourself before sending a drawing to any toolroom. The numbers below are common starting points from general moulding practice, not hard rules — the right value depends on material, part size and the mould maker.
1. Wall thickness: keep it even
Uneven walls are the root of most moulding defects. Thick sections cool slower than thin ones, so they shrink more, pull the surface in (sink marks), trap voids inside, and warp the part.
Check:
- Is the nominal wall within a sensible range for the material? For small and medium parts in ABS, PP and HDPE, roughly 1.5–3 mm is common.
- Is the wall the same thickness everywhere, as far as possible? Aim to keep changes within about 10–25% of nominal, and where a change is needed, taper it gradually rather than stepping.
- Are thick features (bosses, pads, mounting blocks) cored out?
A solid 8 mm block on a 2 mm wall part will almost certainly sink. Core it out to a 2 mm shell with ribs inside.
2. Draft angles on every vertical face
Faces parallel to the direction the mould opens drag against the steel as the part is ejected. Without draft, parts stick, scuff or distort on ejection.
Check:
- Every face parallel to the mould opening has draft — a starting point of 1–2°, and not less than about 0.5°.
- Deep walls and cores have more draft, not less.
- Textured faces have extra draft; the texture supplier will usually specify how much per depth of texture.
- The drawing shows which side the draft goes (which face is “nominal”), so mating parts still fit.
Adding draft in CAD at the end of a project often breaks other features. Build it in from the start.
3. Ribs instead of thick sections
Ribs add stiffness without adding thick walls. Badly proportioned ribs cause sink marks on the visible face opposite them.
Check:
- Rib thickness at the base is roughly 50–60% of the wall (lower end for materials prone to sink, such as PP and HDPE).
- Rib height is no more than about 3 times the wall thickness; use two shorter ribs instead of one tall one.
- Ribs have draft (about 0.5–1° per side) and a root radius of about 25–50% of the wall.
- Ribs are spaced at least about 2 times the wall apart so the steel between them can be cooled and machined.
4. Bosses for screws and inserts
Bosses carry screws, heat-set inserts and pins. They are the features most likely to crack, sink or fail to fill.
Check:
- Boss outer diameter is roughly 2–2.5 times the screw size; boss wall about 60% of nominal wall.
- Bosses are connected to a side wall with ribs or gussets, not left free-standing in the middle of a face.
- The hole is sized to the screw supplier’s recommendation for that plastic; self-tapping screws for plastics have specific pilot-hole sizes.
- Bosses are not so tall that the core pin is long and unsupported.
- A small radius where the boss meets the wall reduces stress.
5. Undercuts: design out what you can
An undercut is any feature that prevents the part being pulled straight out of the mould along the opening direction: side holes, internal clips, grooves, threads, lettering on a side face.
Each undercut usually needs a slider, lifter or collapsible core. That adds to mould cost, maintenance and cycle time.
Check:
- List every undercut. For each, ask whether it is essential.
- Can a side hole become a slot open to one end?
- Can a snap-fit hook be moulded with a pass-through core (a window in the wall opposite the hook)?
- Can lettering move to a face parallel to the parting plane?
- Can an external thread be split along the parting line instead of needing an unscrewing mould?
Removing one slider can make a meaningful difference to the mould price. Ask your toolroom to price the mould with and without it.
6. Gate location and flow
The gate is where molten plastic enters the cavity. Its position affects appearance, strength, warping and how well thin sections fill.
Check:
- Is there a face where a gate mark is acceptable? Mark cosmetic faces on the drawing so the gate goes elsewhere.
- Does plastic flow from thick to thin? Gating into a thin section and filling a thick one causes voids and sink.
- Where will weld lines form (where two flow fronts meet, such as around a hole)? Keep them away from load-bearing areas and visible faces.
- For living hinges in PP, material must flow across the hinge, not along it.
- Is the flow length reasonable for the wall thickness? Very long, thin parts may need more than one gate.
The mould designer decides the final gate, but your input on cosmetic faces and load paths matters.
7. Shrinkage and warp
Every plastic shrinks as it cools. The mould is cut oversize to compensate, but shrinkage is not perfectly uniform, and the difference between directions causes warping.
Typical moulding shrinkage ranges (from general material data, grade-dependent):
| Material | Typical shrinkage |
|---|---|
| ABS | ~0.4–0.7% |
| PP | ~1–2.5% |
| HDPE | ~1.5–3% |
Check:
- Is the material fixed before mould design? Changing from ABS to PP after the mould is cut changes every dimension.
- Are large flat faces stiffened with ribs or a slight curve? Big flat panels in PP and HDPE are prone to warp.
- Are walls even (see check 1)? Uneven walls are the main cause of differential shrinkage.
- If the part mates with another moulded part, are both in the same material, or has the difference been allowed for?
8. Tolerances: only where they matter
Tight tolerances everywhere increase mould cost and rejection rates, and some are simply not achievable in high-shrinkage materials.
Check:
- Identify the few critical dimensions — mating features, screw positions, sealing faces — and tolerance those specifically.
- Apply a general tolerance to everything else, appropriate to the material.
- Avoid tight tolerances across the parting line, which depends on mould alignment.
- Ask the moulder what is achievable for your material and size before committing.
- For critical dimensions, agree that the mould will be built “steel-safe” — slightly on the side where material can be removed — so it can be tuned after first-off samples.
9. Parting line
The parting line is where the two halves of the mould meet. It leaves a fine line on the part and sometimes a small step or flash.
Check:
- Where will the parting line fall? Is it acceptable on a cosmetic face?
- Is it on a simple, flat or stepped plane where possible? Complex 3D parting surfaces cost more to machine and fit.
- Are there sealing or mating faces on the parting line, where a small step or flash would cause trouble?
- Does the draft direction on each face agree with the chosen parting line?
10. Surface texture and finish
Surface finish is specified on the mould, so decide it before tooling.
Check:
- Which faces are cosmetic and which are hidden?
- Do you want gloss, satin or texture? Polished faces show every sink mark and flow line; a light texture hides small defects.
- Have you added extra draft for textured faces (see check 2)?
- Is the colour decided, and will it be moulded-in with masterbatch? Dark colours hide flow marks better than light ones.
- Are logos and text raised or recessed, and on a face that allows them without an undercut?
The printable DFM checklist
Use this in your design review, or send it with your files.
| # | Check | Target / question | OK? |
|---|---|---|---|
| 1 | Nominal wall | ~1.5–3 mm for small ABS/PP/HDPE parts; even throughout; thick areas cored out | ☐ |
| 2 | Draft | 1–2° on faces parallel to opening (min ~0.5°); extra for texture and deep features | ☐ |
| 3 | Ribs | Base ~50–60% of wall; height ≤ ~3× wall; spacing ≥ ~2× wall; root radius | ☐ |
| 4 | Bosses | OD ~2–2.5× screw; wall ~60% of nominal; tied to side walls; hole per screw spec | ☐ |
| 5 | Undercuts | Each one listed and justified; designed out where possible | ☐ |
| 6 | Gate | Cosmetic faces marked; flow thick to thin; weld lines away from load and view | ☐ |
| 7 | Shrinkage | Material frozen; large flat faces stiffened; mating parts allowed for | ☐ |
| 8 | Tolerances | Critical dimensions identified; general tolerance elsewhere; steel-safe agreed | ☐ |
| 9 | Parting line | Location agreed; not on sealing faces; draft direction consistent | ☐ |
| 10 | Texture and finish | Cosmetic faces, gloss/texture, colour and logos decided | ☐ |
| 11 | Prototype | Part 3D-printed from the final CAD and fit-checked in the assembly | ☐ |
| 12 | Quantity | Annual quantity confirmed; moulding cheaper than printing at that volume | ☐ |
Why print before you pay for steel
Even a perfect DFM review cannot tell you whether the part feels right in the hand or fits the PCB you actually received from your supplier. A 3D print can. At AURO3D we print the part on our FDM or resin printers from the exact CAD file the mould will be cut from, so you check the real geometry, not an approximation.
It also helps to check the economics. Suppose a mould is quoted at ₹60,000 — an illustrative figure, not our price — and moulding saves ₹40 per part compared with printing. The mould pays for itself at about 1,500 parts. If you only need 300 a year, printing may be the better answer for now. Our break-even guide walks through this calculation, and the mould cost guide explains what drives mould prices.
How AURO3D reviews your part
Every moulding enquiry gets a free DFM check against this list. If the part needs changes, we mark them up and explain why. If it needs real redesign, our in-house mechanical designer can do it as a paid design and DFM service. We then print a sample, and only after you approve it is the mould designed and built.
Send a STEP file, a drawing marking critical dimensions and cosmetic faces, the material, colour and annual quantity. Call or WhatsApp +91 93568 71008, or visit the factory at Kanadwadi, Savali, Sangli to discuss it across the table.