A 3D print fresh off the machine shows how it was made: support marks, layer lines, a slight seam where each layer starts. That is fine for a fit check. It is not fine when the part goes into an investor demo, a customer approval meeting, an exhibition stall or a foundry where the sand must release cleanly. Many buyers end up sanding and spray-painting prints themselves, with uneven results and a lot of lost time.
AURO3D finishes parts in its own factory. Our team handles support removal, sanding, filling, priming and painting, so printed parts leave our factory ready for the job they are meant for, whether that is a demo, a display or a casting pattern.
Finish levels
We describe finishing in four levels, so you can choose what you need and pay only for that.
| Level | What is done | Typical use |
|---|---|---|
| 1. Clean-up (included) | Supports removed, stringing and sharp edges cleaned | Fit checks, functional parts, jigs |
| 2. Sanded | Support marks and visible layer lines sanded on chosen faces | Functional prototypes that will be handled or photographed |
| 3. Primed and painted | Sanded, filled, primed and painted in one colour | Demo units, customer samples, casting patterns |
| 4. High finish | Multiple fill-and-sand rounds, primer, colour coats, two-tone, detailing | Exhibition models, presentation pieces, premium gifts |
Pricing depends on the level, the part size and how complex the surfaces are, and we quote it per part. A flat panel is quick to sand; a lattice or a part full of small pockets takes much longer for the same level.
Our finishing steps
Support removal and clean-up
Every FDM and resin part we print gets this. Supports are removed, contact points are trimmed, stringing is cleaned off and sharp edges are softened. For resin parts, this follows washing and UV post-curing.
Sanding
Sanding starts coarse to knock down layer lines and support marks, then moves to finer grits. On FDM parts, the goal is a uniform surface for primer, not polishing the plastic itself. Small text, sharp edges and fine details are sanded carefully or masked, so they are not rounded off.
Filling and priming
Primer and filler close the remaining layer lines and small gaps. On high-finish parts we prime, sand, inspect under light, and repeat until the surface is even. This is where most of the labour goes, and it is the step that separates a painted print from a print that looks moulded.
Painting
Colour coats go on after the final primer sand. Matte, satin or gloss looks are possible depending on the paint used.For colour-critical work, we paint a sample first for your approval.
Two-tone and detailing
For two-tone finishes, each colour is masked and sprayed separately, with clean lines along design edges. Alternatively, parts can be printed in different colours and assembled, which is cheaper when the colour split follows the part split. Details such as buttons, labels, pipe colours on plant models or highlighted features are hand-detailed.
Finishing FDM versus resin parts
| FDM parts | Resin parts | |
|---|---|---|
| Starting surface | Visible layer lines | Smooth, fine layer lines at 0.05 mm |
| Effort for a smooth finish | More sanding and filling rounds | Less; mainly support marks |
| Fine details | Can be softened by sanding | Stay crisp after priming |
| Best for | Larger parts, patterns, enclosures | Small detailed parts, miniatures, busts |
If a smooth finish is the main goal and the part is small, resin printing often costs less overall than printing in FDM and paying for heavy finishing. For larger parts, FDM plus finishing is usually more economical.
What we finish
- Product prototypes and demo units, including two-tone handheld devices and enclosures for start-up demos and investor meetings.
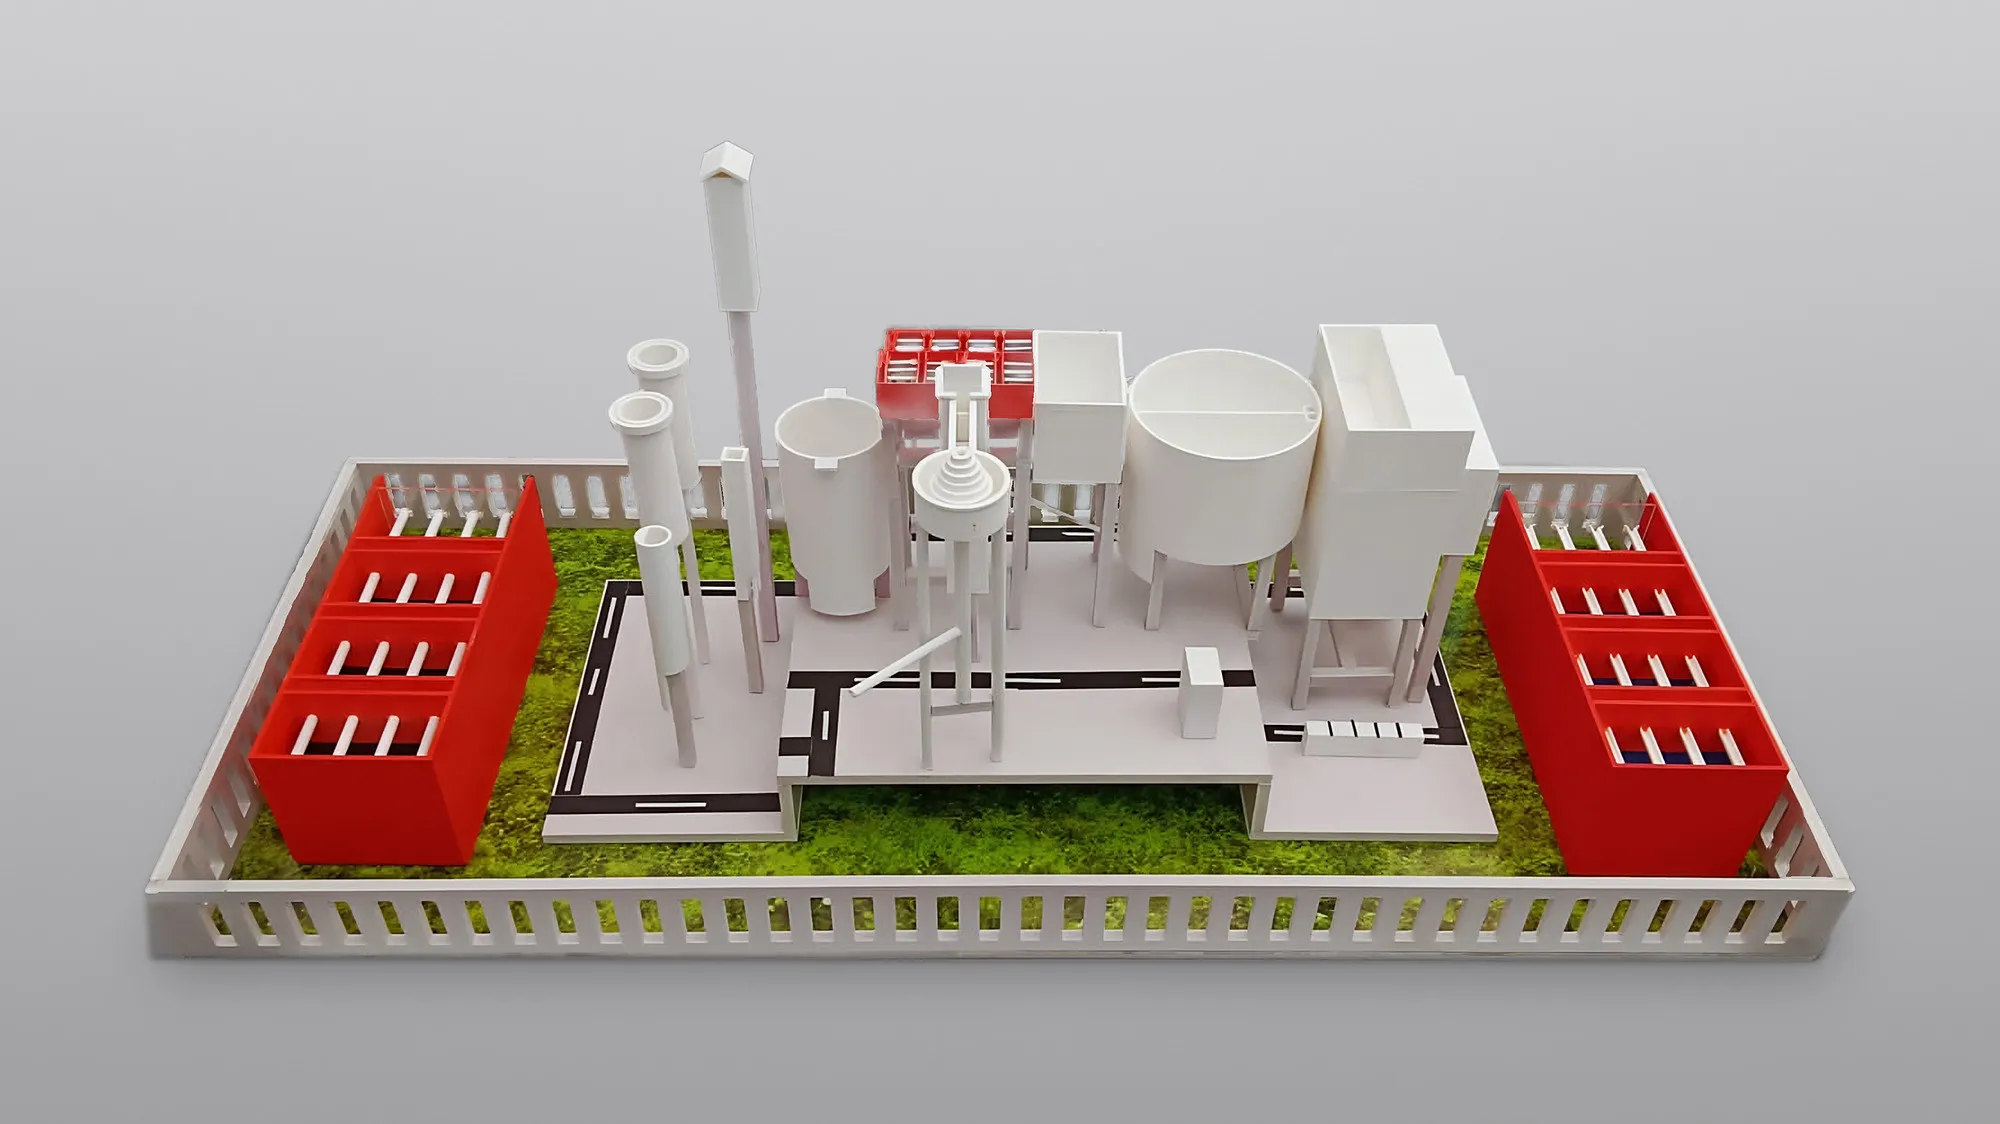
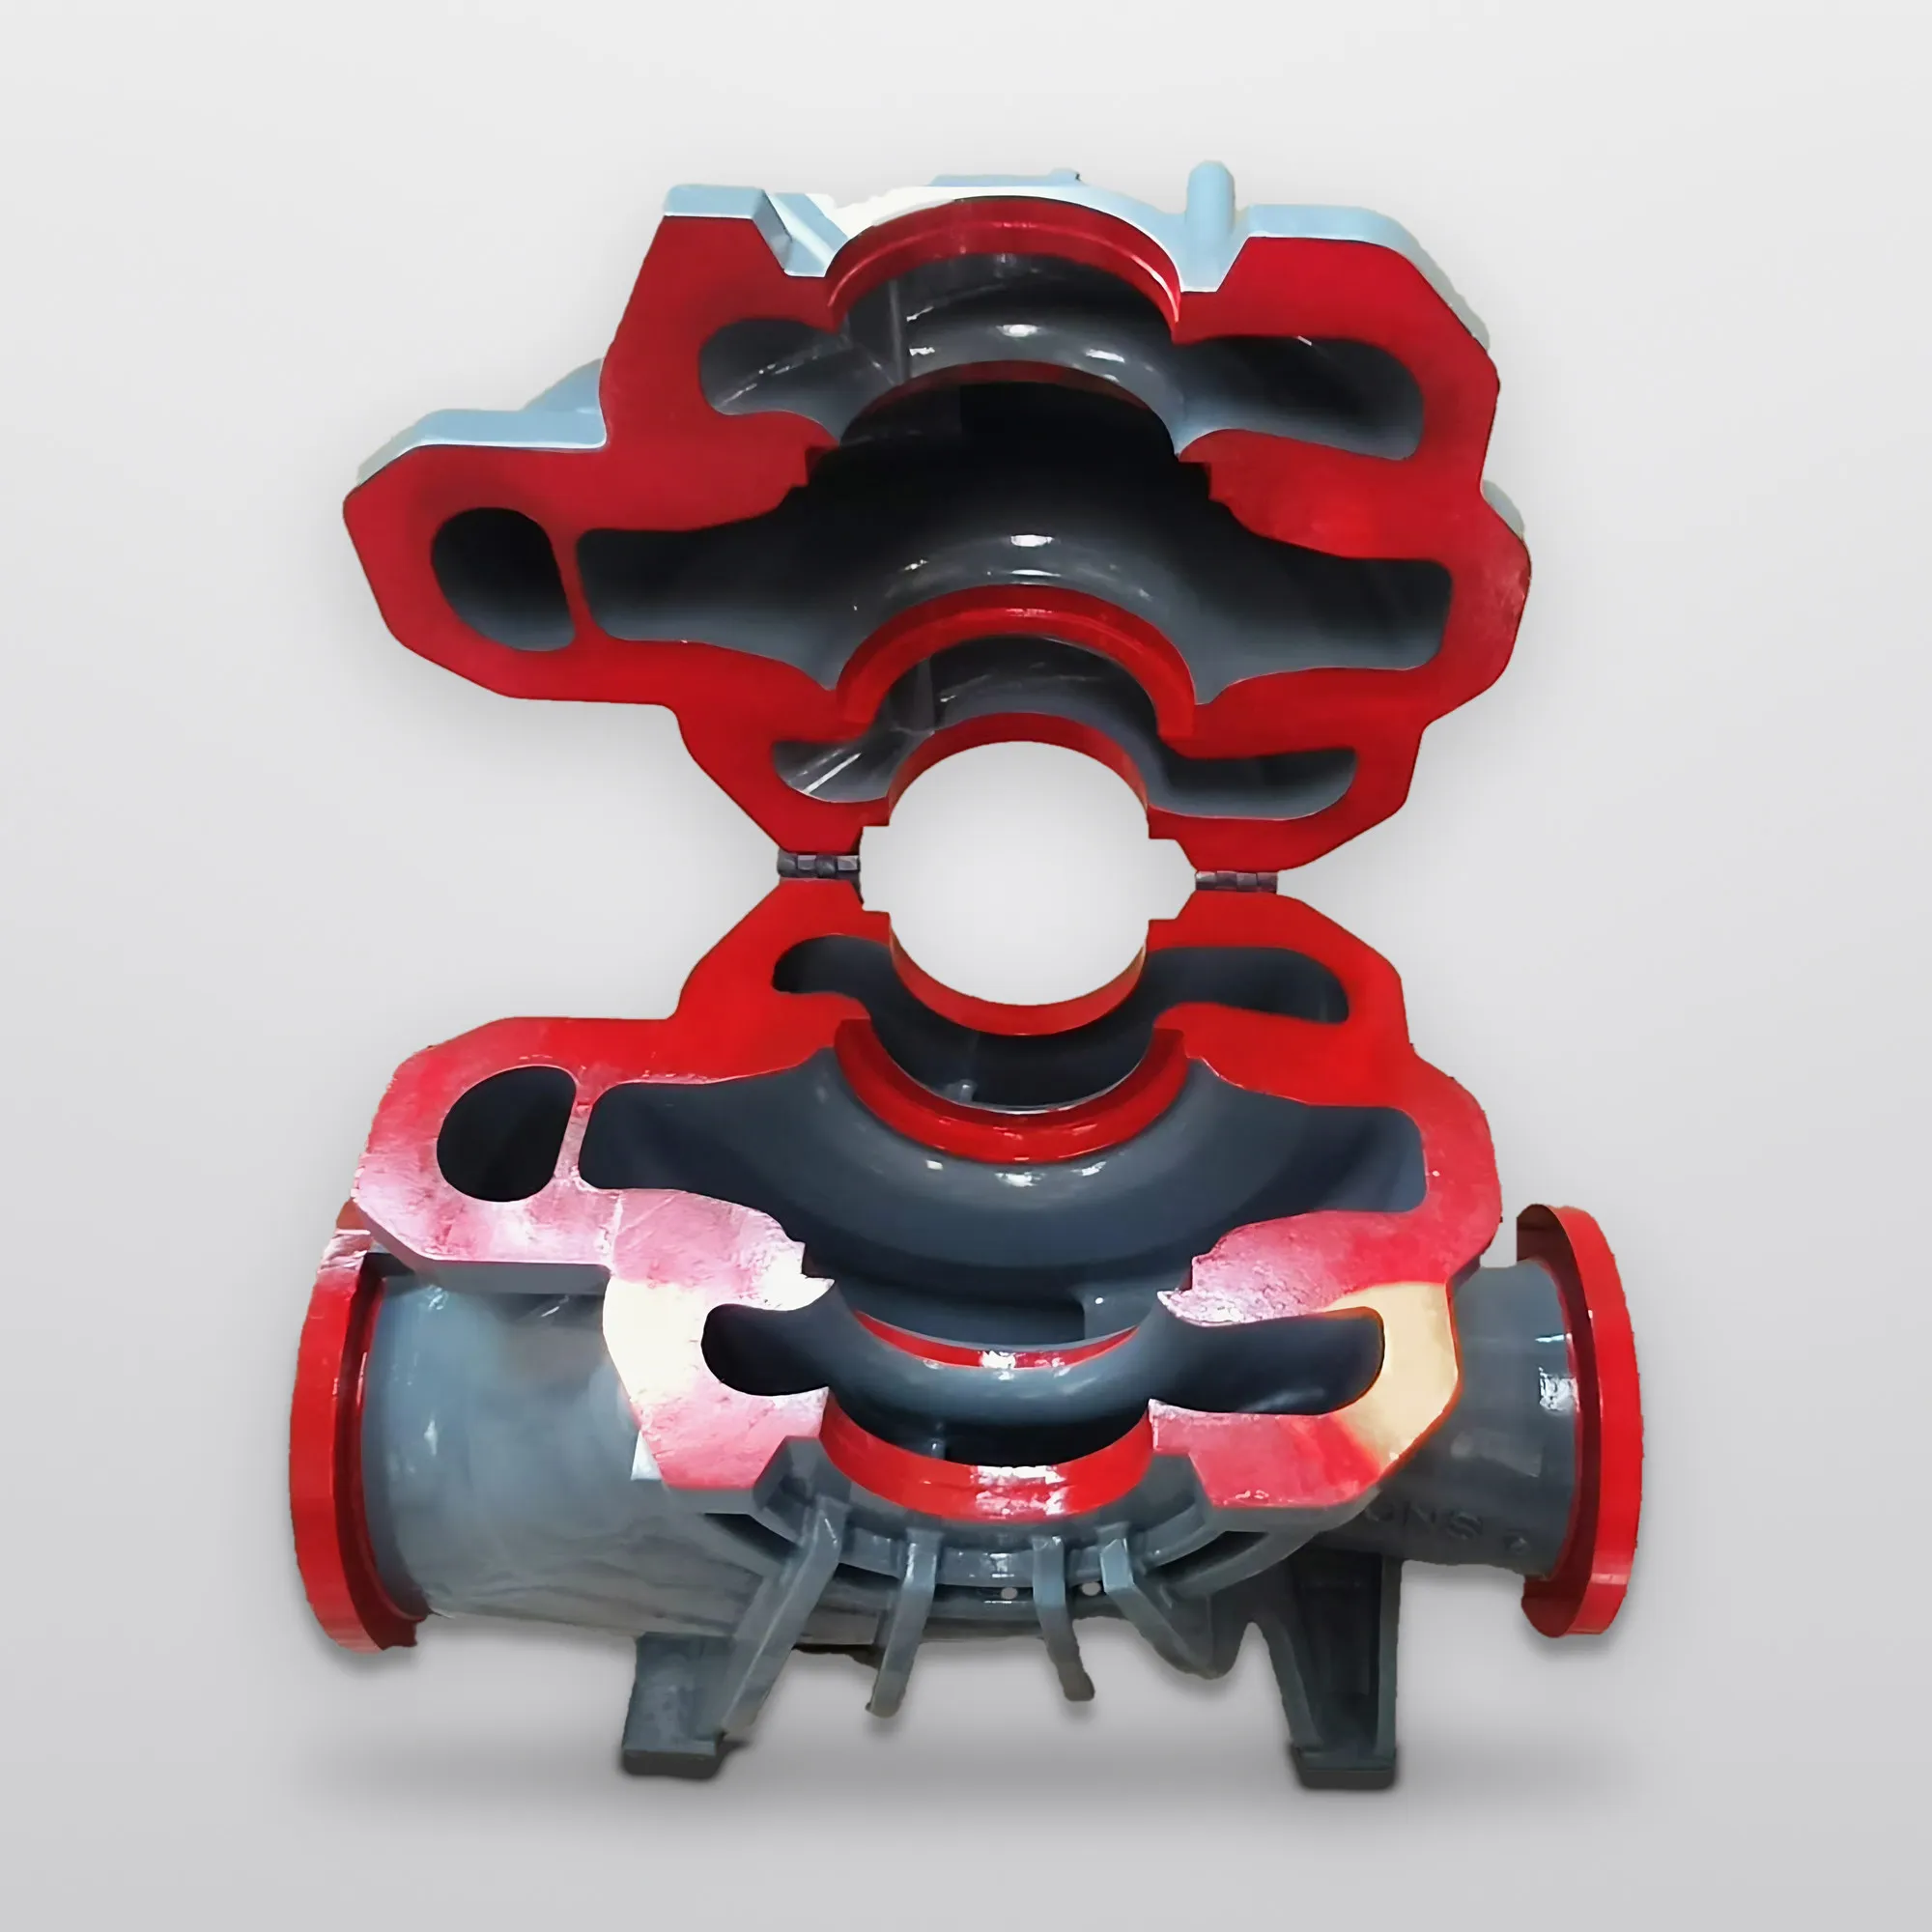
- Exhibition and scale models: industrial plant layouts, pump and machinery cutaways, architectural floor-plan models. The pump cutaway and plant model in our gallery are examples.
- Casting patterns, sanded, sealed and painted so they release from the sand cleanly. See casting patterns.
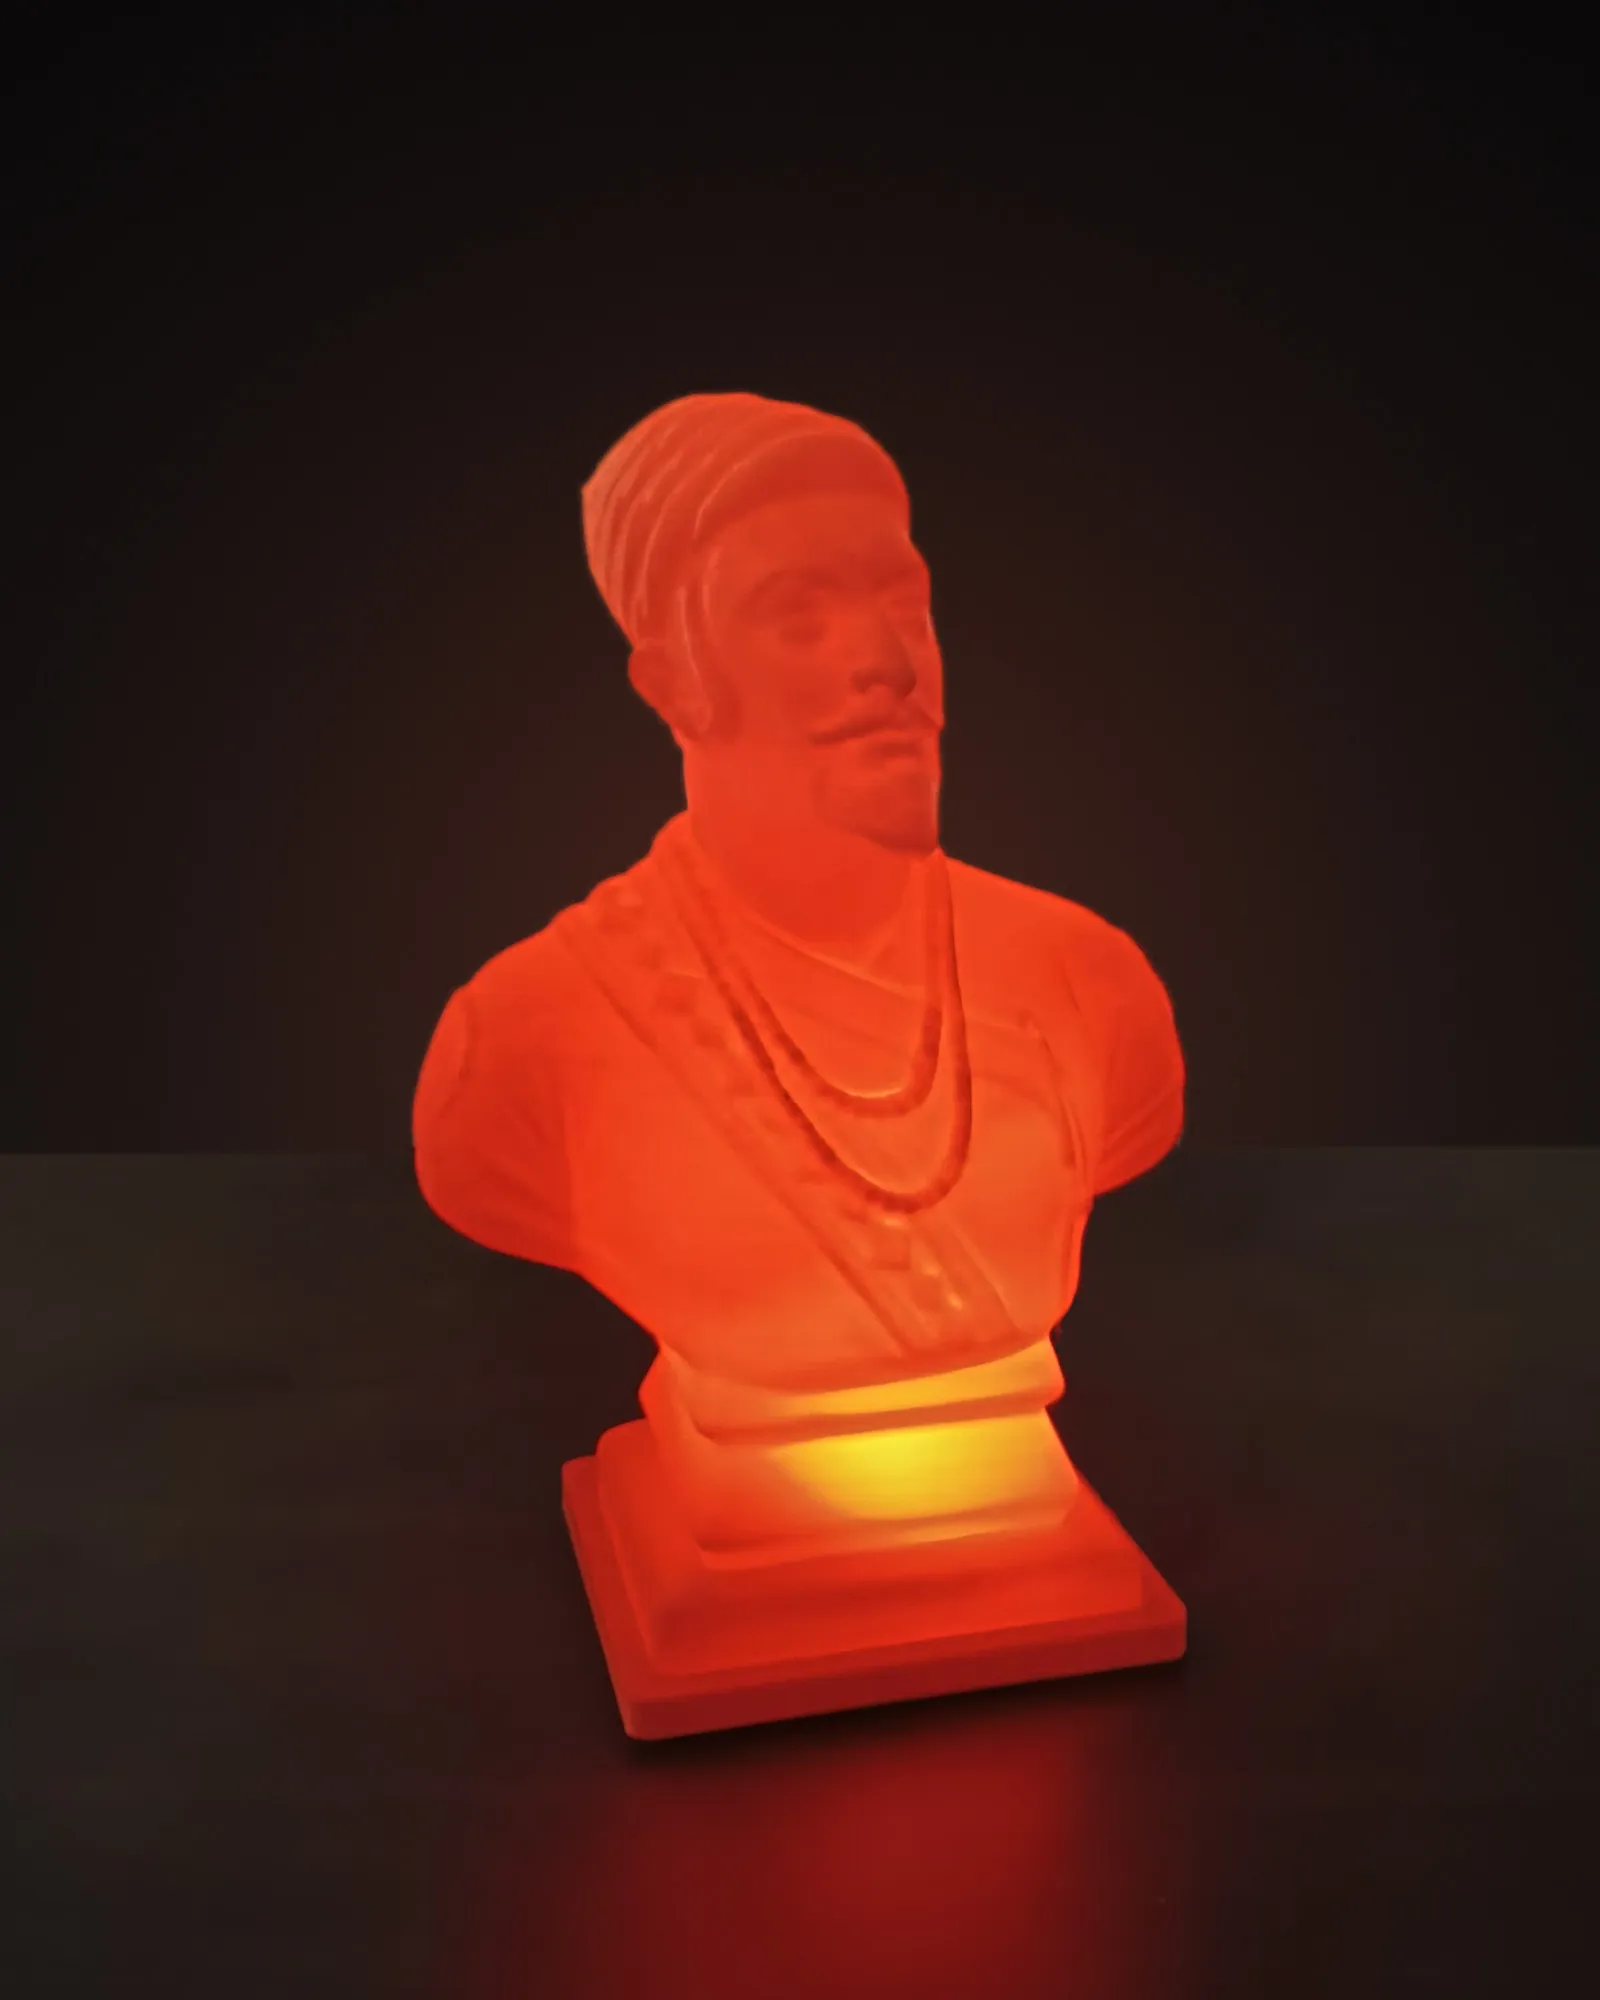
- Display pieces and gifts, such as the resin bust lamp in our gallery.
- Customer samples for approvals, tenders and trade fairs.
Planning a finished part
A few decisions early in the design make finishing faster and better:
- Split visible surfaces from supports. Tell us which faces are visible, so supports go elsewhere.
- Split colours along part lines. A colour change at a joint is cleaner and cheaper than one masked across a smooth surface.
- Avoid tiny deep pockets on visible faces. They are hard to sand and prime evenly.
- Leave paint clearance on fits. Primer and paint add thickness; tight fits may need slight extra clearance on painted faces.
- Consider moulded colour for production. If the part will be made in large numbers, moulding in a coloured PP or ABS avoids painting each part. Our design team can plan for both.
Limits to know
Painted prints look excellent on a table and in photographs. They are not identical to injection-moulded parts: paint can chip at sharp edges with rough use, and FDM parts keep their layered internal structure even when the surface is smooth. For parts that will be handled hard every day, we will suggest a tougher material, a different finish level, or moulding.
Heat is the other limit. Painted PLA parts left in a closed car or near a hot machine can soften and distort under the paint, even though the surface looks perfect. If a finished part will see temperatures above normal room conditions, print it in ABS or PETG before painting. And remember that every layer of primer and paint adds a little thickness, so a painted demo unit may assemble more tightly than the unpainted prototype did.
Exhibition and scale models
Scale models are where finishing matters most, because the model is judged entirely by how it looks. An industrial plant layout, a pump cutaway for a trade-fair stall or an architectural floor plan is usually built from dozens of printed parts: buildings, tanks, pipe runs, machines, base plates and small details.
We plan these models in three stages:
- Breaking down the model. The CAD or drawings are split into printable parts, with large flat items in FDM and small detailed items, such as valves, figures and fittings, in resin.
- Finishing in sub-assemblies. Parts of the same colour are primed and painted together, then assembled, so colour lines stay clean and paint does not clog joints.
- Detailing and assembly. Pipe colours, labels, highlights and the final base are added by hand at the end.
Tell us the scale, the overall size, where the model will be displayed and whether it must be transported often. A model that travels to exhibitions needs sturdier joints and a base that can be bolted to a case. Cutaway models, like the pump in our gallery, need the internal parts finished to the same standard as the outside, because that is where people look.
What to send us
- The file or the parts to be finished.
- Finish level from the table above.
- Colours, with a RAL reference, brand code or physical sample.
- Visible faces and any logos or text.
- Quantity and the date of your demo, exhibition or approval meeting.
Lead time depends on the finish level, and we confirm it in your written quote. Call or WhatsApp +91 93568 71008, or visit our factory at Kanadwadi, Savali, Sangli, to discuss the finish you need in person.